
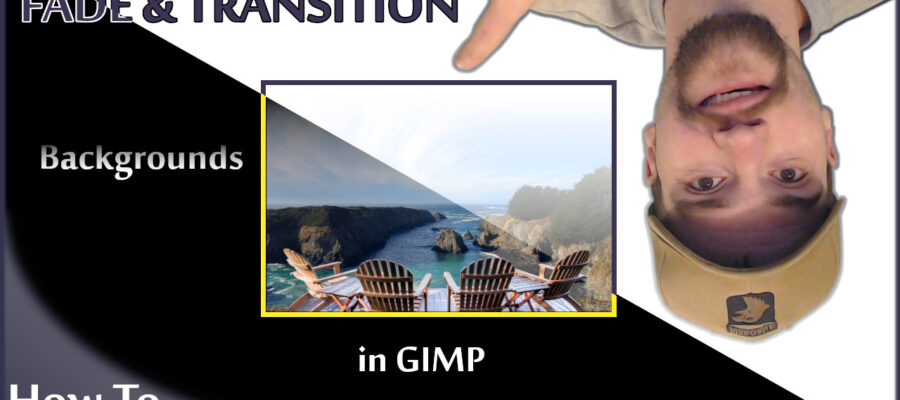
This GIMP tutorial will show you two techniques: how to create both a background transition and a background fade using GIMP 2.10. Walk-through of the process from start to finish, including tips and shortcut keys.
Another technique discussed is how to feather selections for clean cut outs. Built-in features allow you to add to or subtract from your selections as well.
The free select portions of this video are time-lapsed at 32x speed to shorten the video. When making your selections you should take your time for the best results. While using free select or path tool, you can use your middle mouse button press to move your image. To zoom, just use CTRL + middle mouse button scroll.
After saving your final project, you are ready to export your new image. Export as .png for background blending and .jpg if you want to use a non-transparent background layer.
Want to see a specific type of GIMP Tutorial? Leave a comment or contact me here.
Thank you for watching, don’t forget to like, subscribe and leave a comment.
=====
GIMP 2.10 or latest version: gimp.org
Pixabay Images Used:
https://pixabay.com/photos/and-beautiful-blue-british-columbia-2297209/
https://pixabay.com/photos/seascape-headland-mendocino-945798/
Become a Shutterstock Artist or check out my new Shutterstock Gallery.