

Reverse Zoom Effect GIF in GIMP (Timelapse)
Creating a Reverse Zoom Effect in GIMP
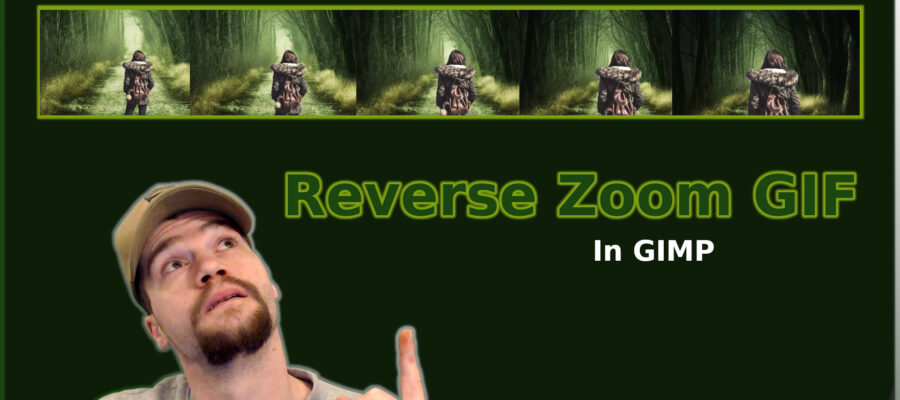
The purpose of this tutorial is to show you how to scale layers of background and foreground images to create a reverse zoom effect using GIMP 2.10 or higher. In the movies, you often see a moment of horror, shock or fear as the camera zooms in on the main character and the background simultaneously zooms out. The purpose of this video is to show you how to replicate that same effect in an animated image using GIMP.
In the video I only use 5 layers of each to save time. Ideally you will want to use many layers of the background and foreground images for a smoother effect. Scale each layer in small increments, the smaller the increment, the smoother the result.
Start with a large background image (4k +) and scale it incrementally. Position one edge in the same place for each layer. Do the same with the foreground image. If you zoom the background out, do the opposite to the foreground for the intended affect. Always start by scaling your layers down then rearrange the layers to simulate the desired affect: zooming in or out.

Practice Then Perfect
In order to get better at anything, you need to practice. When using GIMP to edit photos, create images or even to create a reverse zoom effect like this one, have patience. The more time you spend on one project, the better you will get at it and the better your results will be. Keep in mind that when I create these tutorial videos, timelapse or otherwise, I simplify the process to crunch it into a shorter video. Ideally, this would have roughly 30 layers of background and 30 foreground layers with incremental scaling for a smoother final product.
Source Images:
Secret Forest:
https://pixabay.com/photos/secret-forest-darkness-nature-3120483/
People (Woman):
https://pixabay.com/photos/people-woman-travel-bag-adventure-2583090/